How to Make the Widget
|
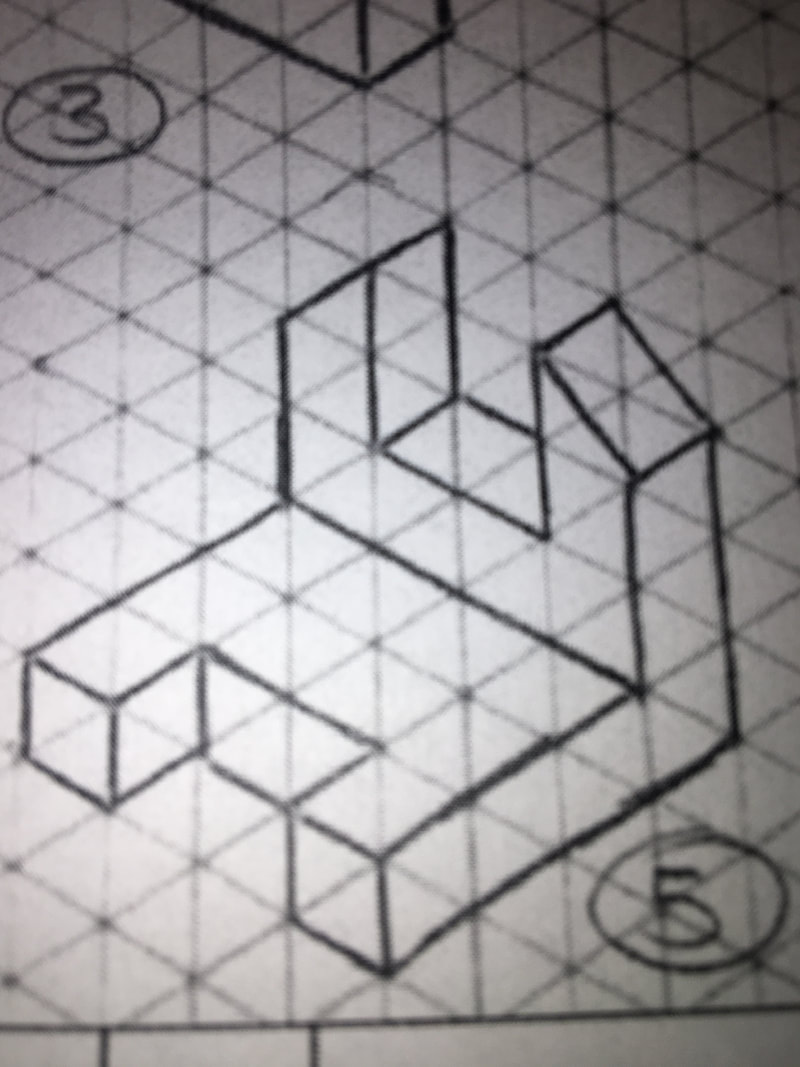
The first step to creating your widget is to sketch it out, creating a basic design will help with the 3D molding portion of this project.
|
|
|
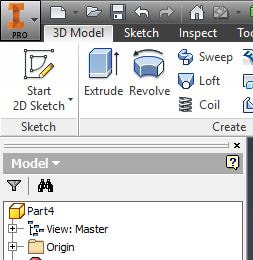
On Autodesk Inventor Professional 2016 to start modeling your project you'll click the Part button
|

|
|
then you'll press start 2D Sketch in the top left corner.
|
|
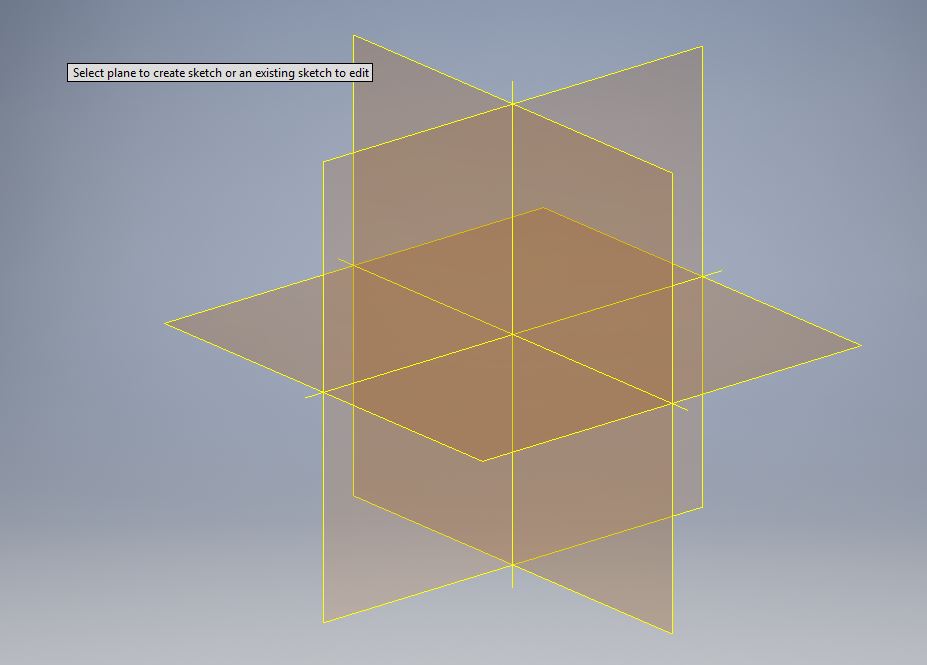
then you'll choose a plane to create your object on,I use the X and Y plane.
|
|

|
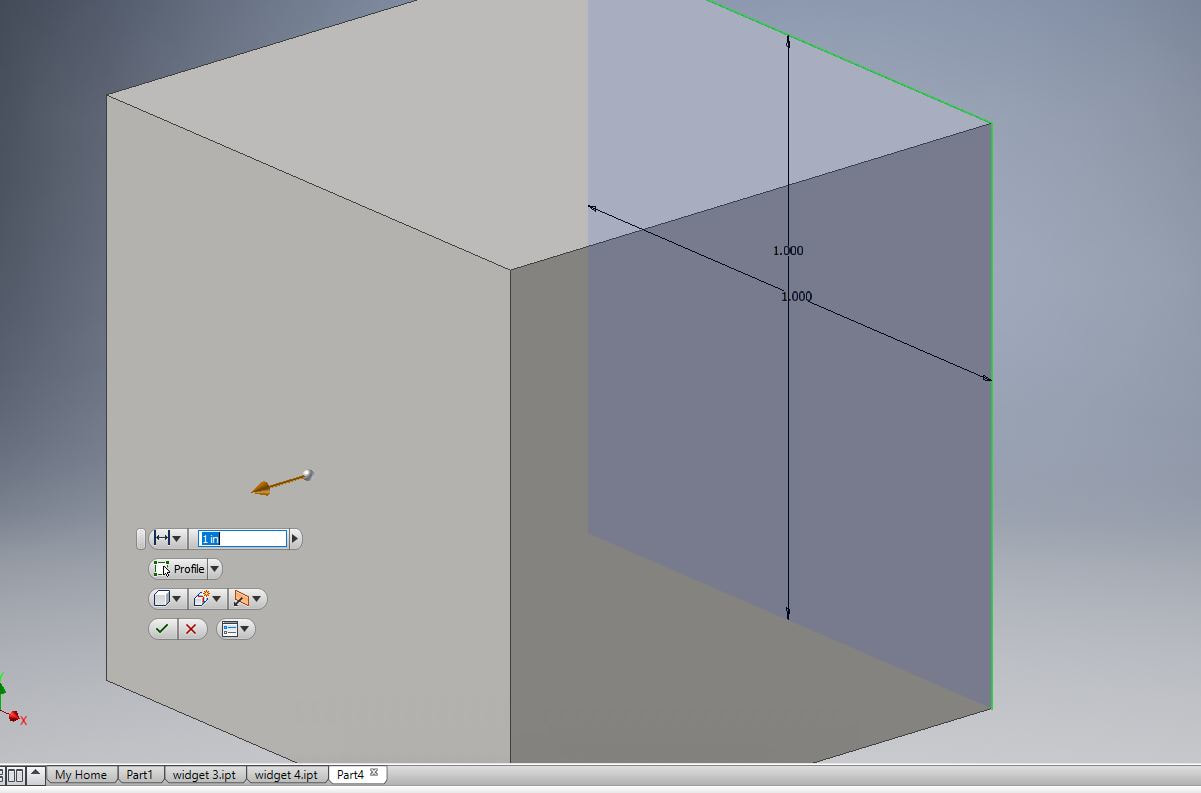
you'll create a basic square of any size, then you'll click the Dimensions button on the top task bar and choose the sides paralleling each other and set them to a distance of 1.
|
|
you'll press finish sketch, then press the extrude button to create a 3D model of your 2D square.
|
|
|
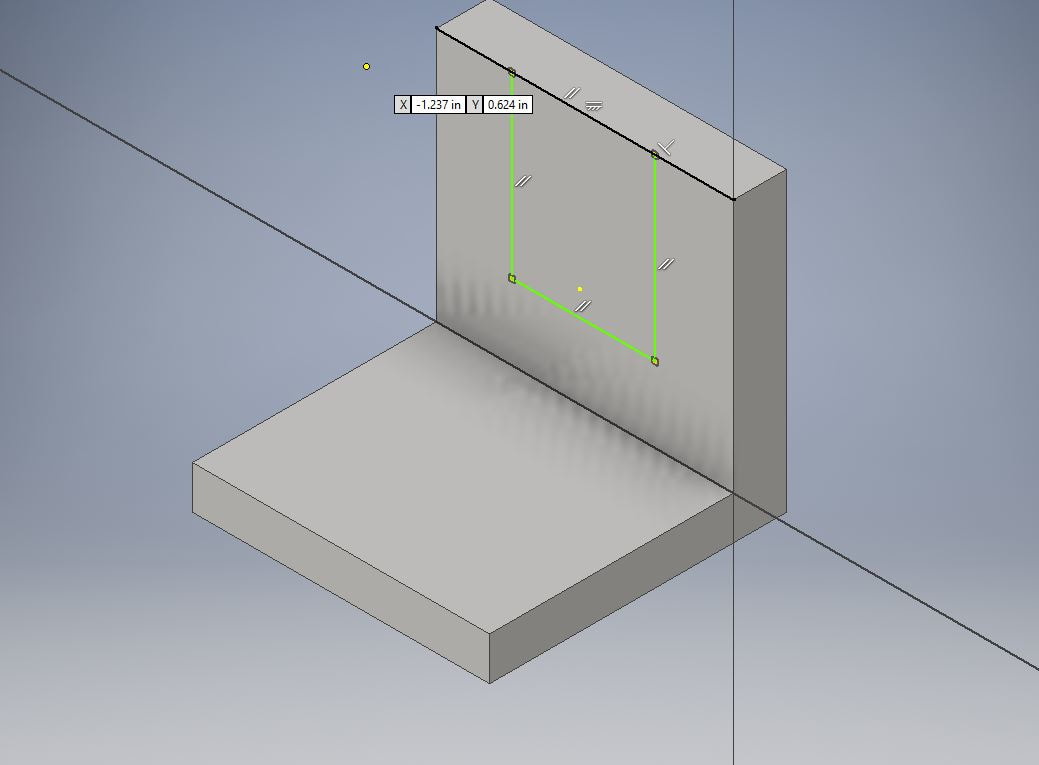
from there you'll go back into the 2D Sketch and begin changing the pieces you want to remove or grow/ shorten. until its the proper shape you want.
|
|
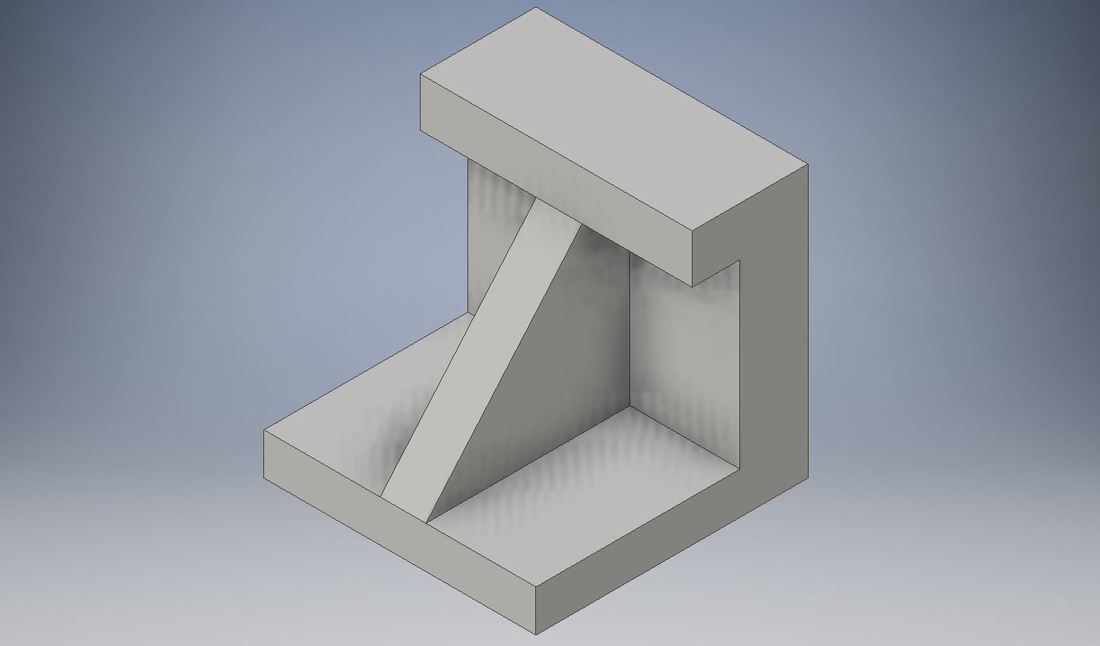
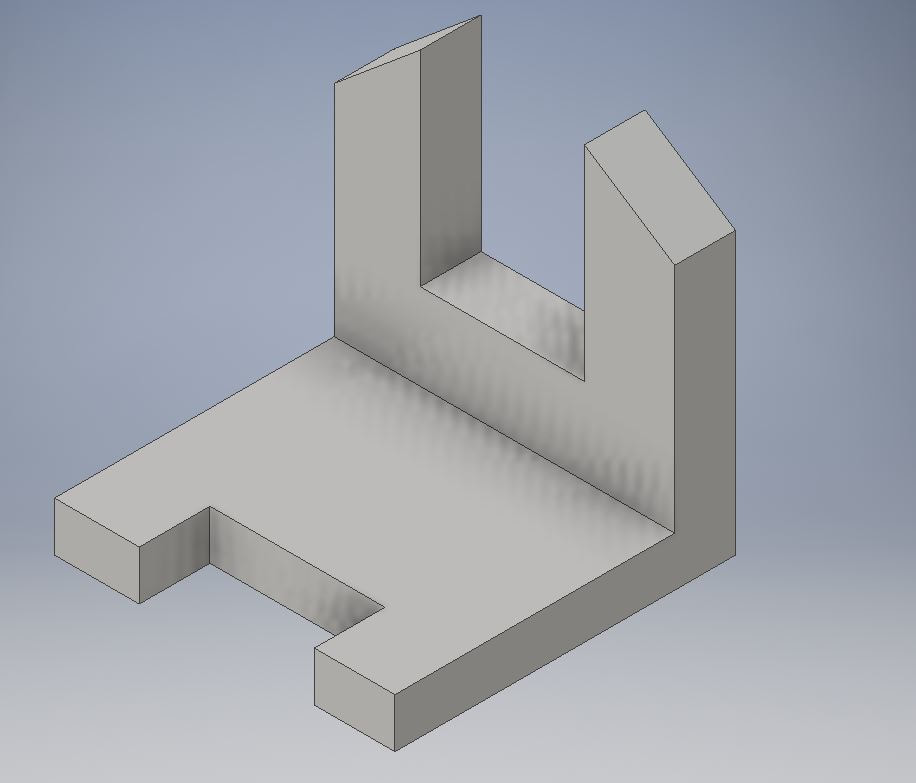
then you'll have your beautiful final product created to your exact specifications.
|
|
|
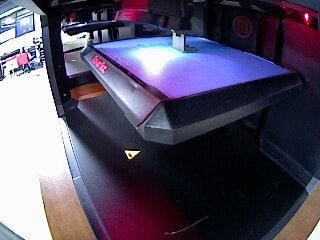
to start 3D printing your object you will save it on a flash drive, make sure to make the saved file Smart Exude+, and go to a 3D printer, select the file you wish to use to print then start printing which should take 30 to 40 minutes.
|
|
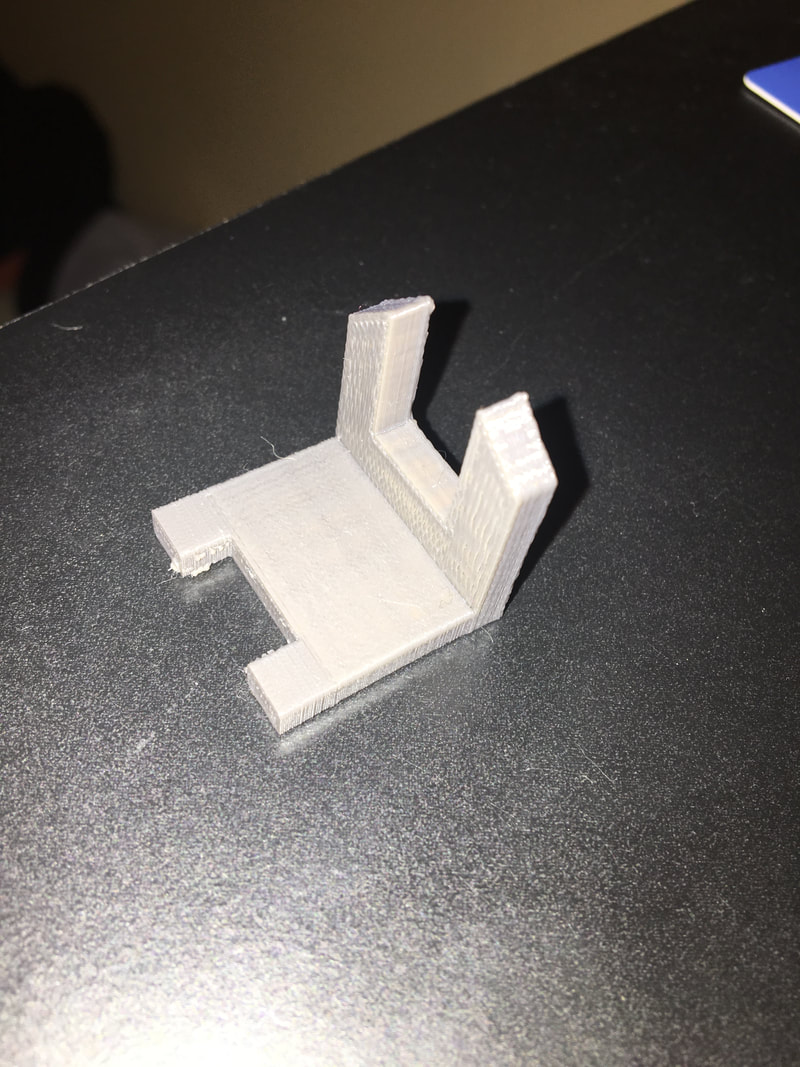
once the 3D print is complete you can remove it from the printer and clean up some of the edges and small imperfections on your product, and voilà you have your final product.
|
|
What I learned during this project
I learned that molding objects is way more complicated then what I originally thought it would be going into this project. The process of moving said molded objects to other applications to start the 3D printing was difficult due to my lack of understanding on these new applications that lead to me wasting time constantly back tracking attempting to figure out what I had done wrong.
