How to Make a Vinyl Name Tag
|
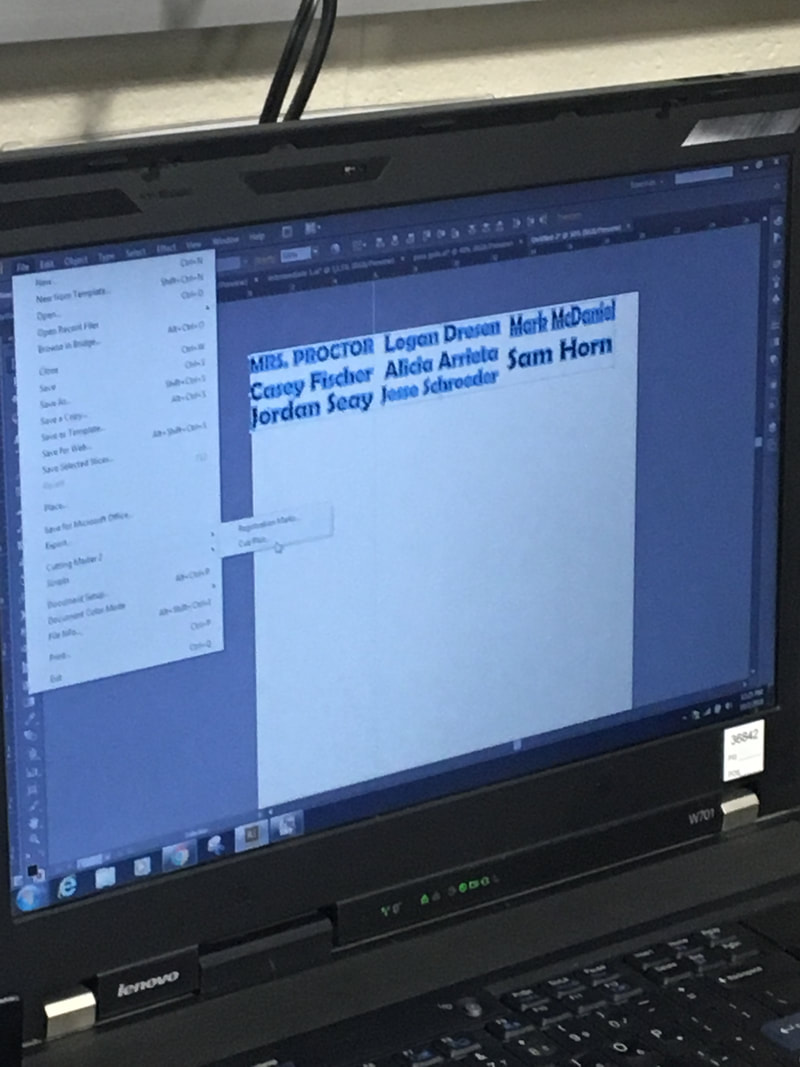
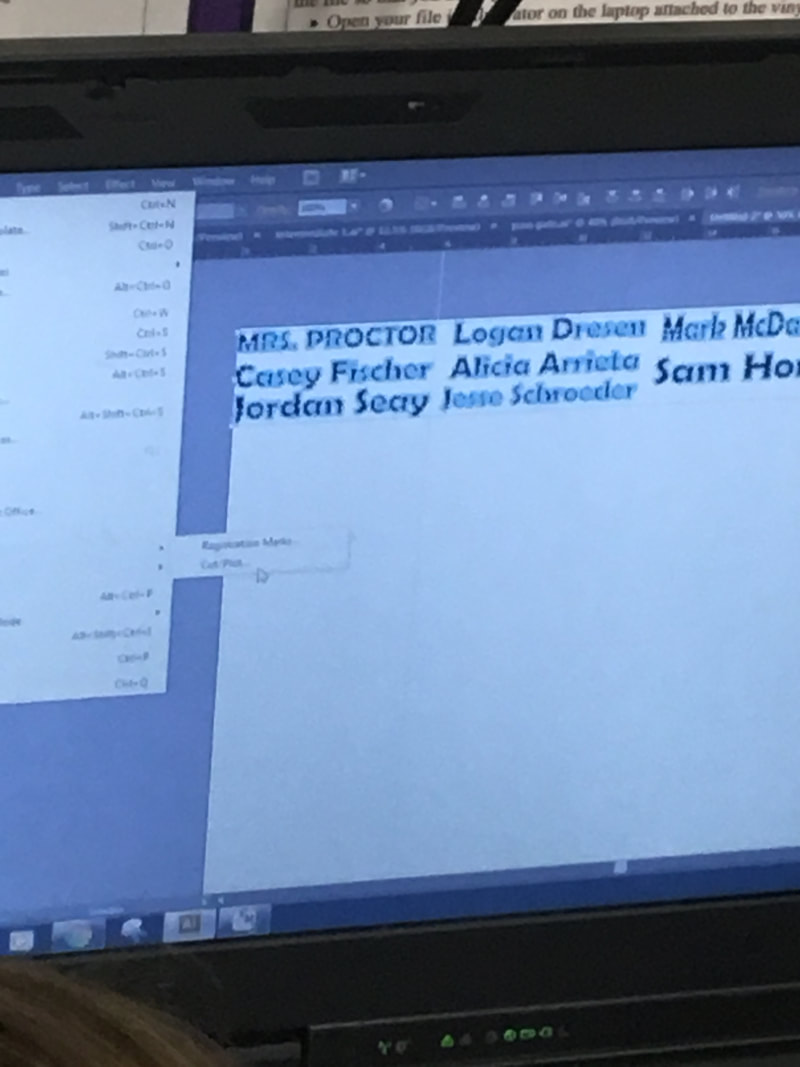
First you must write your name in the font you want. make sure you remove the clipboard from background. select items you want cut out, go to file, cutting master 2, cut plot. Make sure you check media size to match vinyl. check the direction to ensure you use the least amount of Vinyl.
|
|
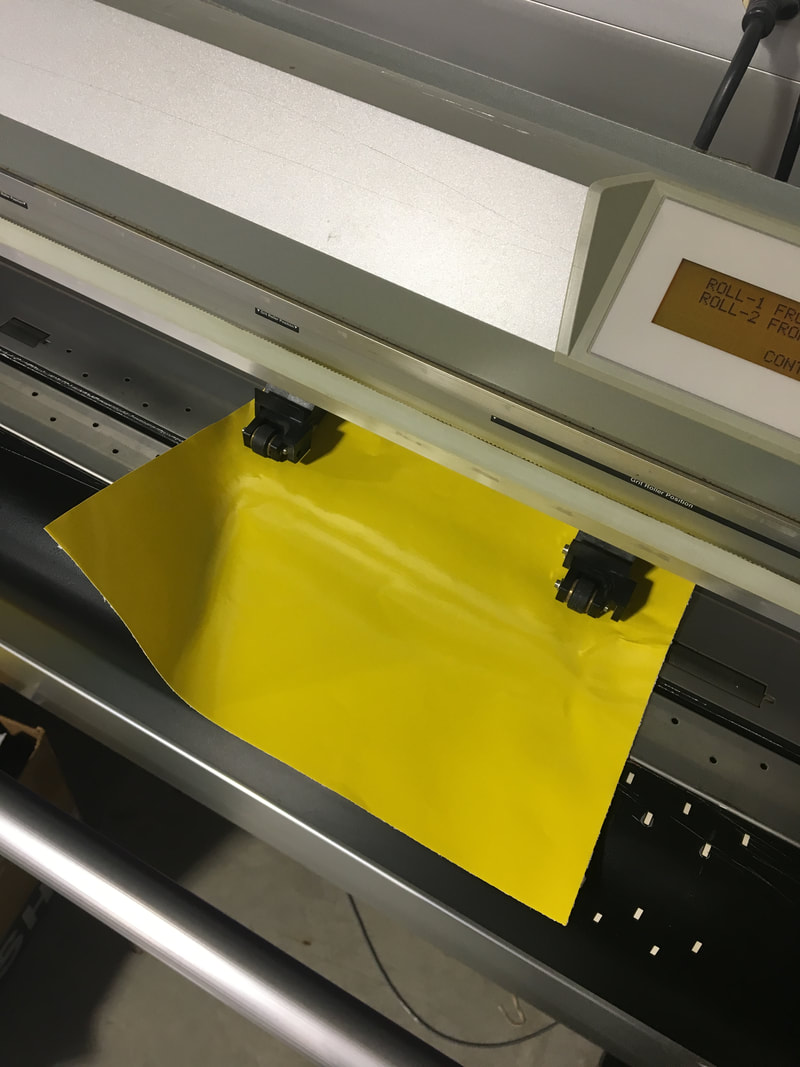
when loading the vinyl make sure to line up the Vinyl with the wheels. You will press Roll-1 front set, then press enter.
|
|
|
|
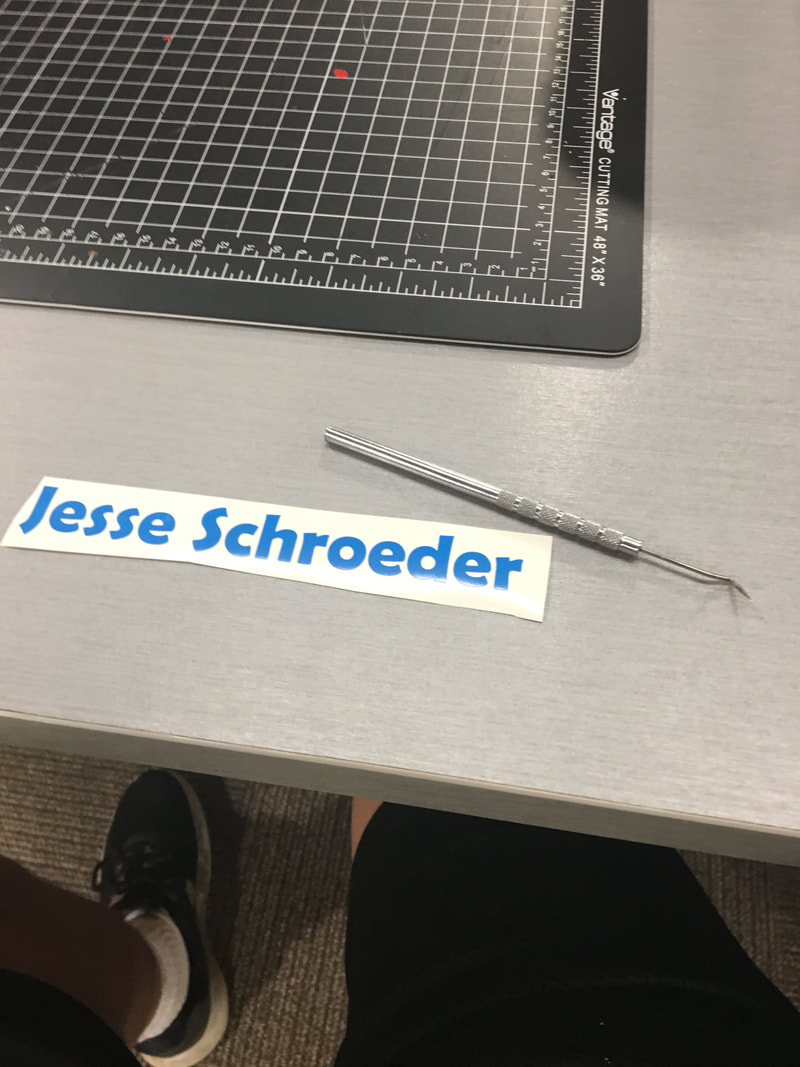
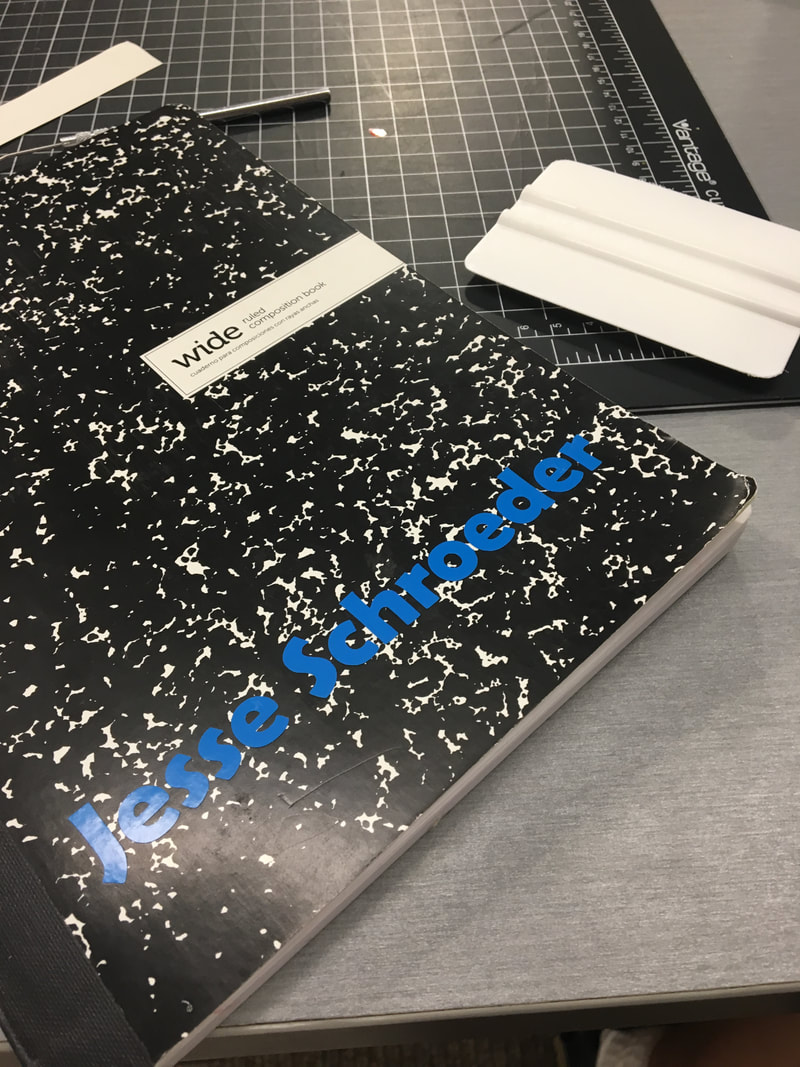
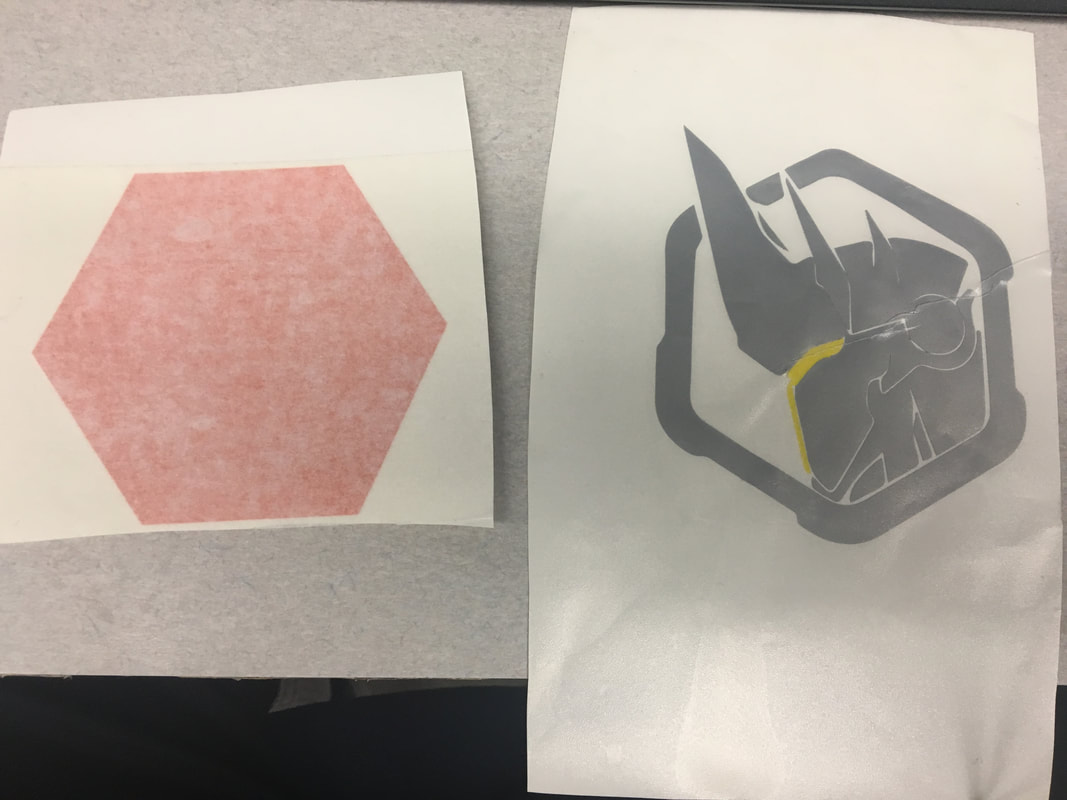
once the item is cut out use small tools to weed unneeded material. place transfer tape over weeded item, then use the applicator and press down on letters. Then carefully remove tape at 90 degree angle to ensure the letters are peeled off decal.
|
|
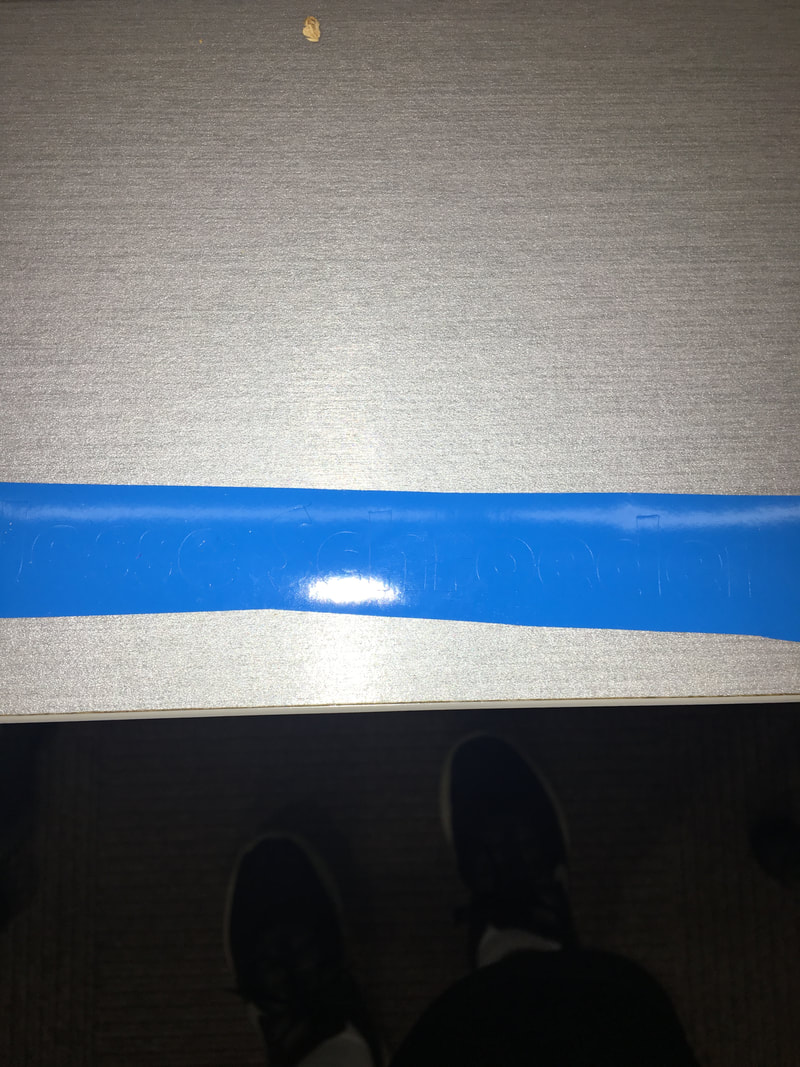
Then place the transfer tape on the item you wish to transfer your words onto. use the applicator to press down and transfer the words onto the item.
|
|
What I learned during this project.
I learned the basic way to print and apply a vinyl design.
How To Create a Vinyl decal
|
first create the design you want to print. If you want different colors for certain parts of your item, you will need to separate them and print them independently on different Vinyl colors
|
|
|
|
|
you will place selected color of vinyl into printer and print the selected object onto it, repeat until full picture is printed on separate Vinyl pieces.
|
|
once you finish weeding extra material away place smaller pieces onto larger parts to use less transfer tape, and to not mess up alignment on the object you wish to place it on.
|
|
|
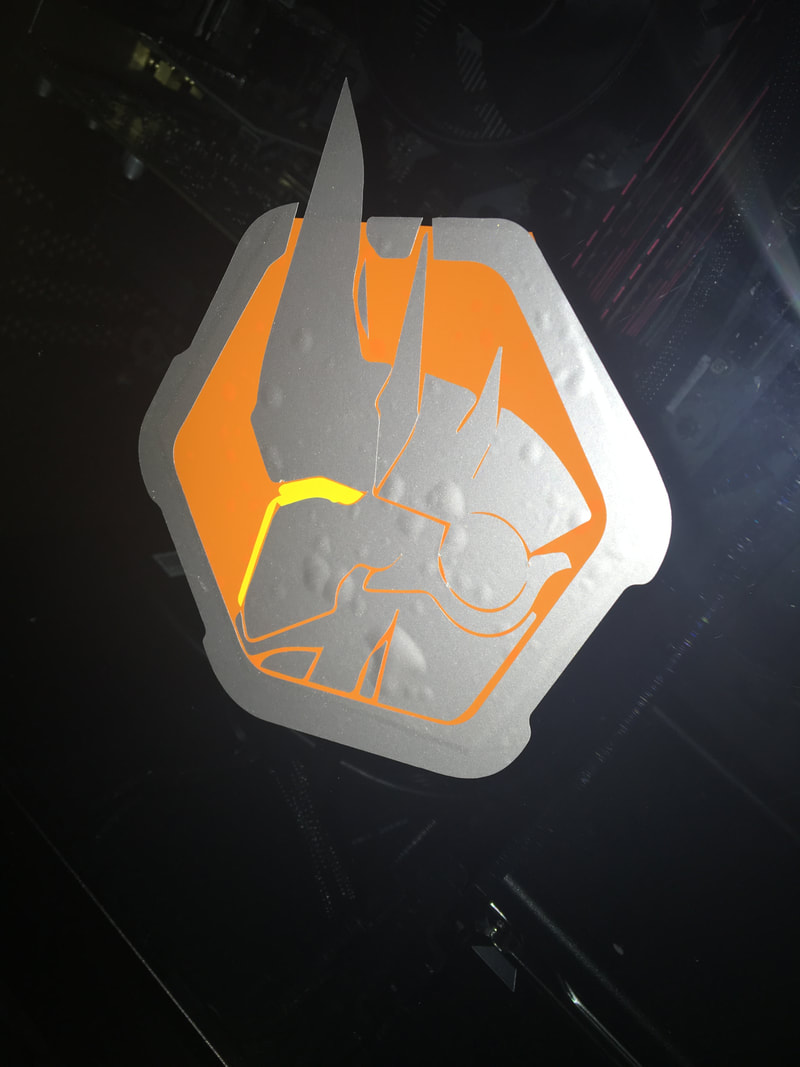
Apply the back piece onto the object you want it on, then place the other pieces onto the back piece. Make sure to clean the object off to allow for a good application, also have an applicator to make sure there are no air bubbles in vinyl print.
|
what I learned during this project
I learned the importance of having an applicator when applying your vinyl. My piece has bubble due to me not having anything to properly flatten it while applying.
